Your first powerlifting meet does not require a huge bag. It requires the right bag: items that are permitted by your federation, useful for the day, and already familiar from training. The most expensive mistake is not forgetting a premium accessory. It is arriving with something unapproved, damaged, or untested and having to make decisions under pressure.
This is a planning checklist, not a substitute for your federation’s current rules, approved-equipment list, meet invitation, or meet director’s instructions. Those documents control. Rules can differ between federations, divisions, and events, and they change over time. If anything in this guide conflicts with your event materials, follow the event materials.
- Start with the rulebook and meet information
- Pack the bag in three zones
- Bring familiar equipment, not experiments
- Plan the day in simple phases
- Use a final check that fits on one page
Pack from the rulebook outward
Do not begin with a generic “meet day essentials” list. Begin with the current technical rules for the organization you entered and the instructions from the event. The International Powerlifting Federation makes its current technical rules available publicly, including specifications for personal equipment and inspection. A different federation may use different dimensions, closures, logo requirements, approved lists, or rules about sleeves, wraps, footwear, and clothing.
Your event email can add details that are not obvious in a general rulebook: weigh-in timing, venue entry, rack-height procedure, warm-up area limits, food policies, equipment inspection timing, and whether a particular item needs to be declared. Read it early enough that you can ask the meet director a clear question. Do not rely on a social media comment, an old rulebook, or another lifter’s setup as proof that an item is allowed.
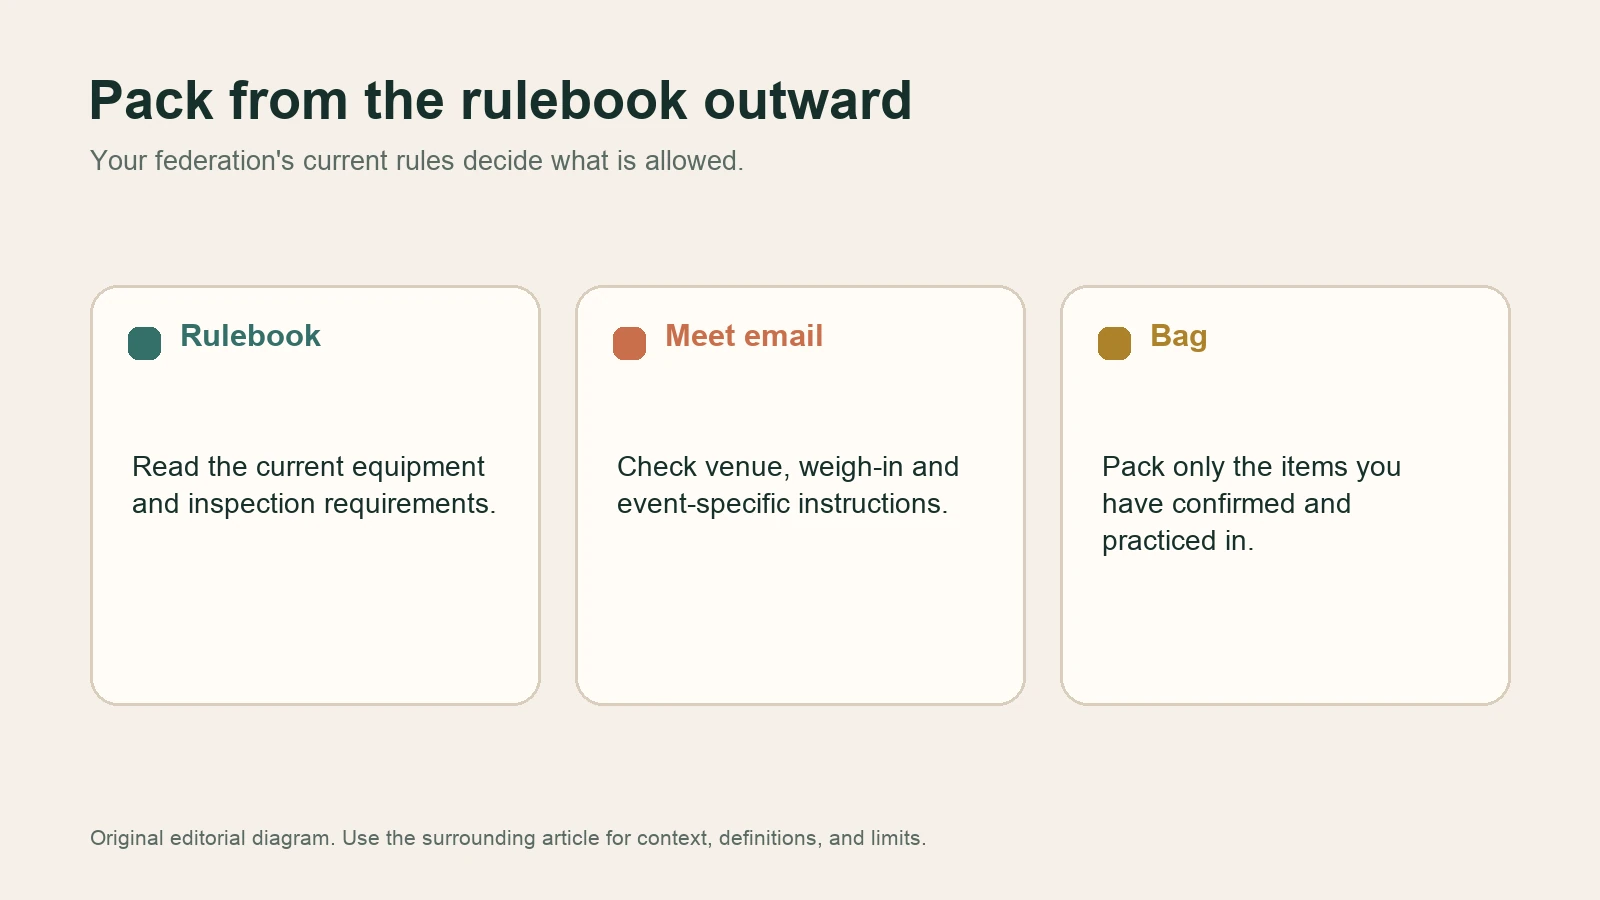
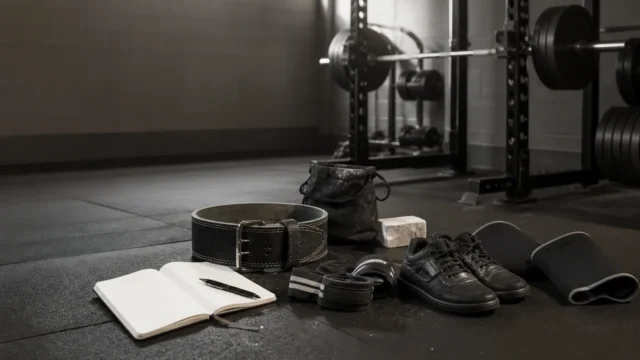
Make a short compliance list. For every item you plan to wear or use while lifting, record its type, its condition, and the rule or instruction you checked. Typical categories include shoes, socks, singlet or lifting clothing, belt, wrist wraps, knee sleeves, and any allowed personal items. The list is not bureaucracy for its own sake. It prevents a last-minute decision from becoming a rule problem.
Meet preparation also includes the policies that are not visible in your bag. Review the federation’s anti-doping rules and meet-specific instructions if they apply to your event. Do not make changes to medication, supplements, or medical care based on a general blog article; use the relevant official process and qualified advice.
Divide the bag into three zones
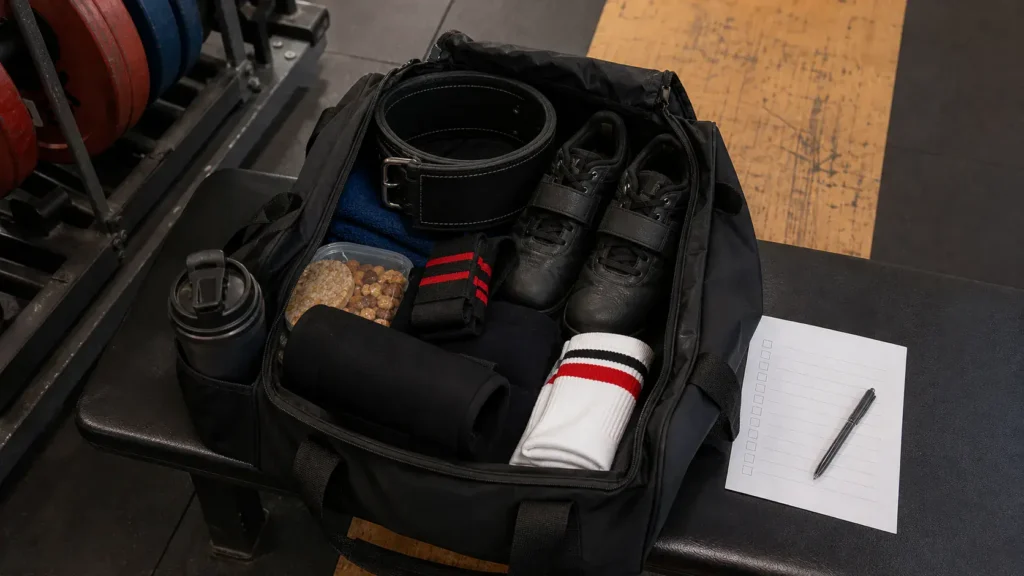
Once you know what is allowed, pack in zones. The lifting zone contains the items used for attempts and warm-ups: familiar shoes, legal clothing, belt, sleeves or wraps if permitted, and the socks or accessories required for your lifts. The comfort zone contains ordinary items that help the day run smoothly: water, familiar food, a towel, warm layers, personal hygiene items, and a phone charger if needed. The backup zone contains small, boring replacements for things that can fail: spare socks, laces, a second shirt, tape if permitted, or a second familiar closure option.
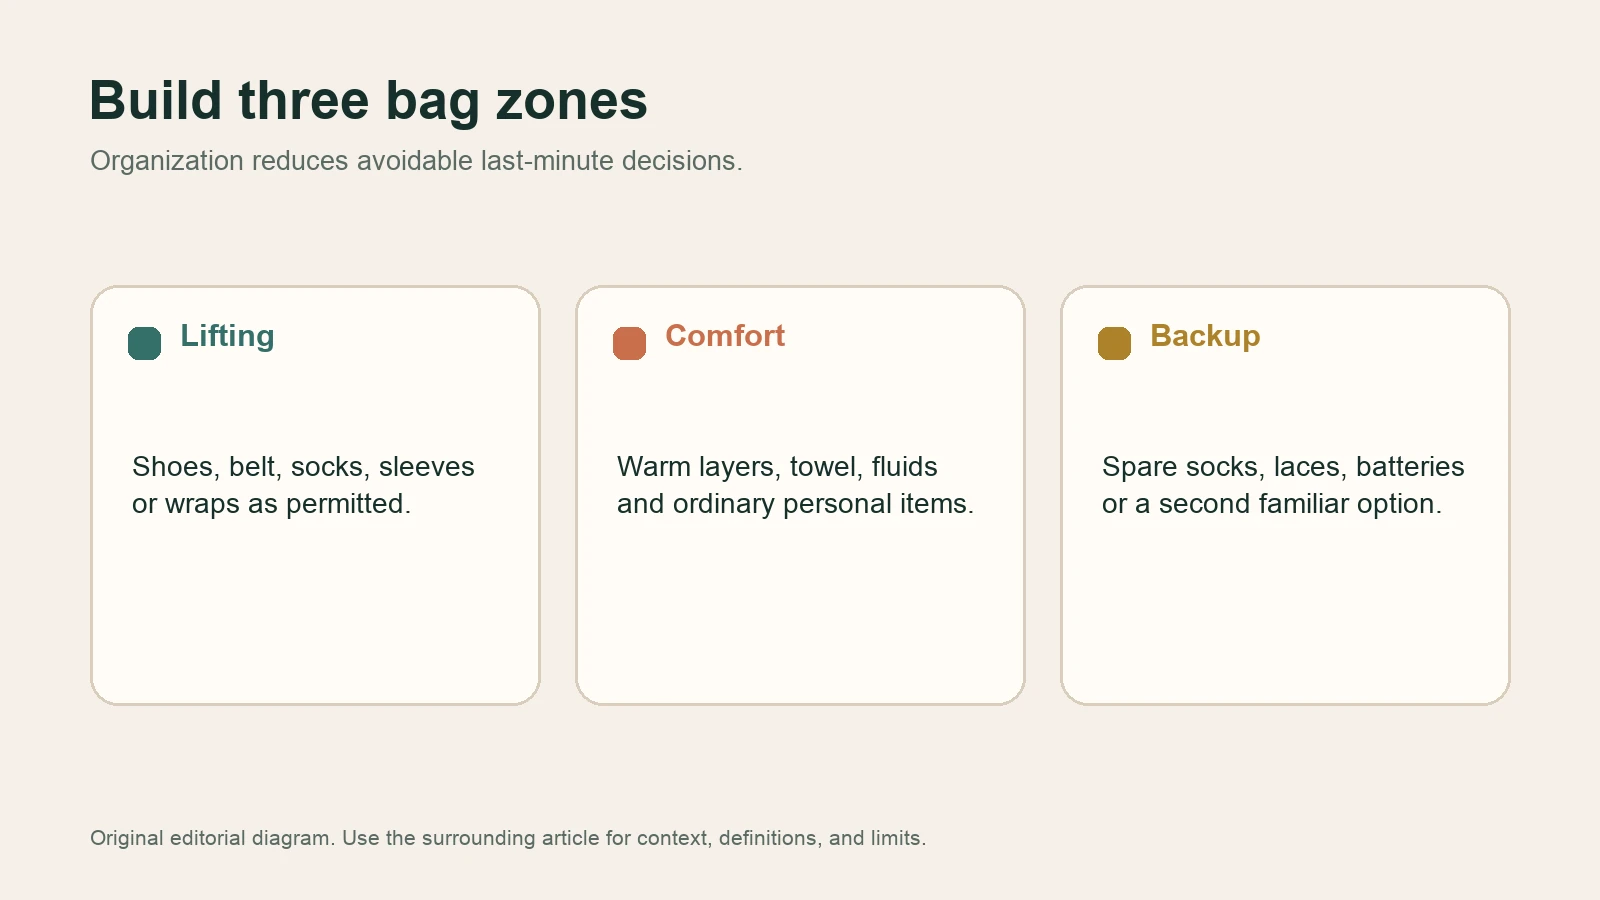
The zones should be visible when you open the bag. Put inspection-sensitive lifting equipment together rather than burying it beneath snacks and spare clothing. Put comfort items in one pouch or compartment. Put backups in a separate small bag with a list taped or clipped to it. This reduces the chance that you leave a required item in the hotel, lose it in the warm-up room, or cannot find it when an official asks to inspect it.
Do not pack for every imaginable emergency. A large bag can create more searching and more choices. Bring the things you have a plan to use, plus small backups for high-consequence failures. If you are tempted to bring a new accessory “just in case,” ask whether you have ever used it in a comparable training session. If not, it is usually not a meet-day tool.
The familiar-equipment rule
Meet day is a poor time to learn whether a new belt pinches, a new shoe changes your balance, or a new pair of sleeves affects your setup. Use every competition item in normal training first. Practice putting it on when you are warm, tired, and preparing for a familiar set. Practice the clothing combination under the movement and range you will use at the meet. The goal is not to recreate the whole event in training; it is to remove needless novelty.
Inspect each item before travel. Check belt stitching, buckles, levers, prongs, laces, seams, and fabric wear. Confirm that nothing has an accidental modification, loose attachment, or damage that could cause it to fail inspection or simply fail during the day. If you compete in a federation with an approved-equipment list, verify the exact item against the current list rather than assuming a similar model is included.
Familiarity also matters for your warm-up. Use the same general shoes, belt position, water routine, and warm-up sequence you practiced during your final training weeks. First meets already contain enough new information: new racks, new commands, noise, timing, and people. Your equipment should reduce choices, not add them.
Plan the day in phases
The simplest meet timeline has three phases. Before travel, confirm the route, event time, documents, equipment, food plan, and weather-appropriate clothing. At the venue, check in, follow instructions, find the warm-up area, and complete any required inspection early. Between lifts, return to the routine you practiced: hydrate, eat familiar food if appropriate, warm up for the next lift, and listen for announcements.
Avoid introducing aggressive new strategies because the day feels important. The goal of a first meet is often to complete attempts, learn the commands, and leave with information for the next training block. A sensible attempt plan and a predictable routine can be more valuable than a last-minute equipment change. If a piece of gear causes pain, breathing difficulty, numbness, or a major change in movement control, do not force it because it was on the checklist. Step back and use qualified help as appropriate.
The updated systematic review of injuries in weightlifting and powerlifting reinforces the value of a broader view: safety is not delivered by an accessory. Load exposure, training history, recovery, movement skill, and decisions on the day all matter. Pack equipment to support your plan, not to outsource judgment.
Use a short final check
The evening before and the morning of the meet, run the same three checks. Is every item allowed by the applicable current rules? Is every item working, clean, and intact? Is every item known from normal training? If one answer is no, solve it early or leave the item out. A short list is more likely to be used than a ten-page packing manifesto.
For a first meet, the right bag is quiet. It contains legal equipment you have practiced with, ordinary comfort items that keep the day manageable, and a few sensible backups. Everything else can stay at home. That gives you more attention for commands, lifts, and the useful experience you came to collect.
Continue with a related guide
For the competition lifts themselves, read The Big Three: Why the Squat, Bench and Deadlift Still Rule Strength Training. Continue with The Powerlifter’s Gear Guide, then compare knee sleeves and wraps before packing either option.